Incident cases
Menu: Incident Management → Cases Cases are where you bundle related alerts into one investigation (example: Wazuh + firewall + third‑party integration alerts) and track the work from triage → resolution. Deep link tip: you can open/highlight a case directly with:/incident-management/cases?case_id=<id>
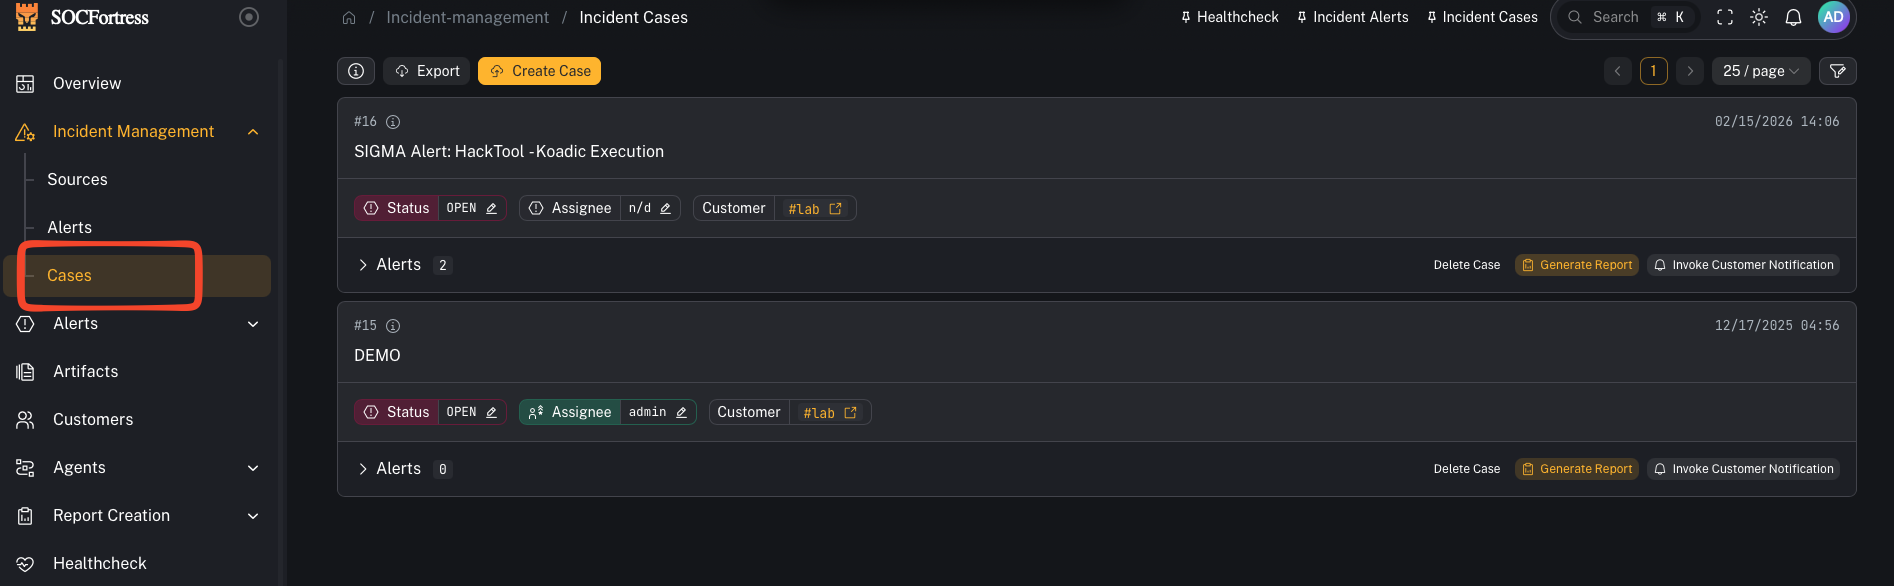
What you’re looking at
The Cases view is split into two parts:- Cases list (left): your queue of open/in‑progress/closed cases
- Case details (right or modal): the selected case, with tabs like:
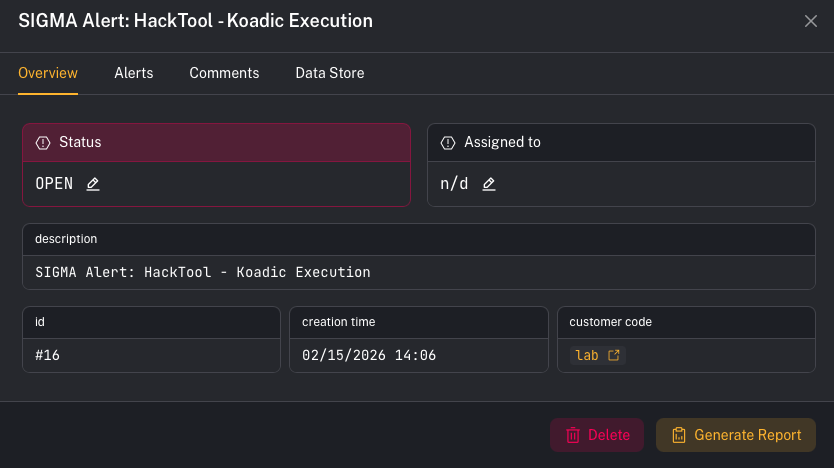
- Overview
- Alerts (linked alerts)
- Comments
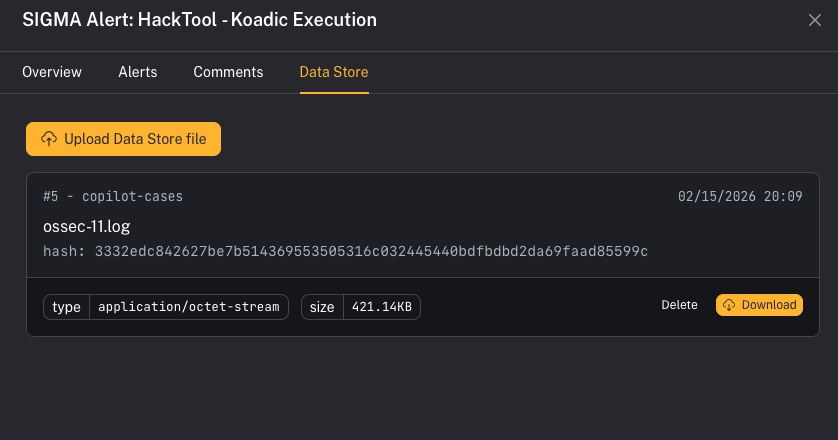
- Data Store
Step 1 — Create or open a case
- Open Incident Management → Cases
- Click a case in the list to open details
- Use Overview to confirm:
- case name + description
- customer (tenant)
- status + assignee
Step 2 — Link multiple alerts to the same case
A case becomes valuable when it holds all the signals for the incident. Example workflow:- A Wazuh alert fires (endpoint)
- A firewall alert fires (network)
- A third‑party integration alert fires (cloud / email / EDR)
- see the full timeline of signals
- coordinate comments
- generate a consolidated report
UI callout: Review linked alerts
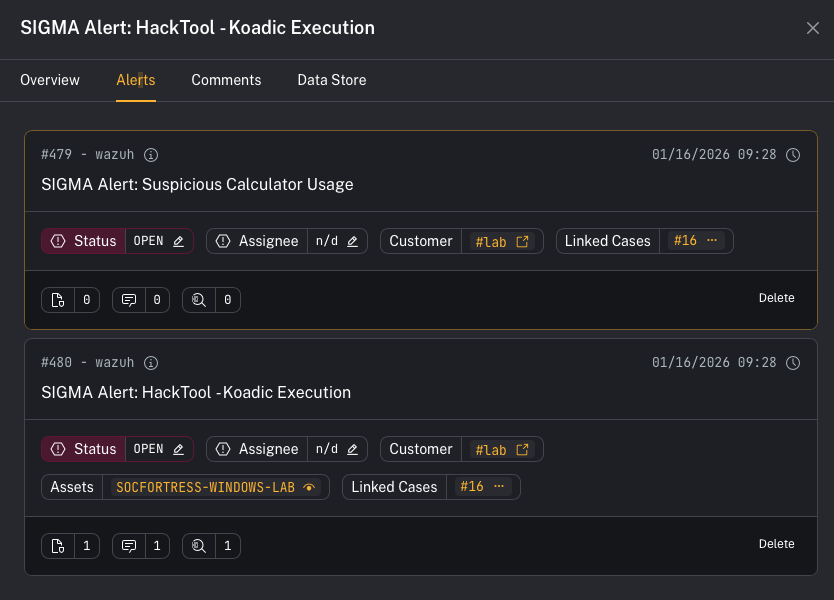
- Open the case details
- Click the Alerts tab
- Confirm all related alerts are listed under this case
Tip: You can link alerts from the Alerts screen as well (operators usually start from an alert, then attach it to an existing case).
Step 3 — Use comments for investigation notes + handoff
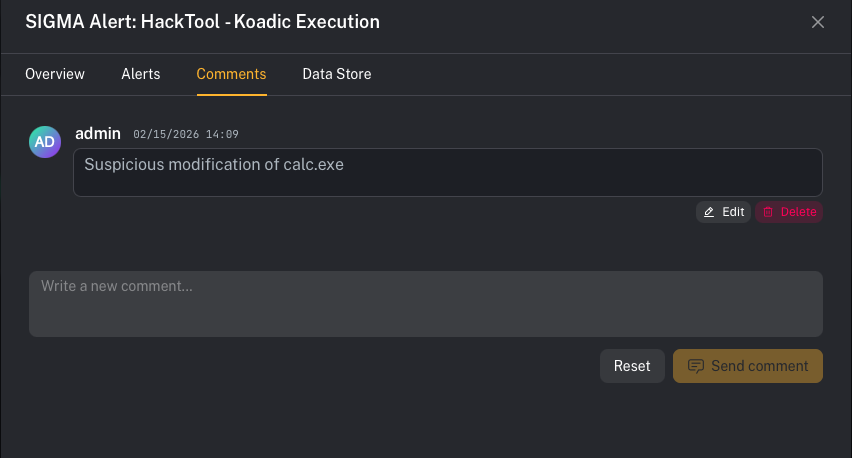
- Open the case details
- Click Comments
- Add investigation notes, decisions, and handoff context
Step 4 — Use Data Store for supporting material
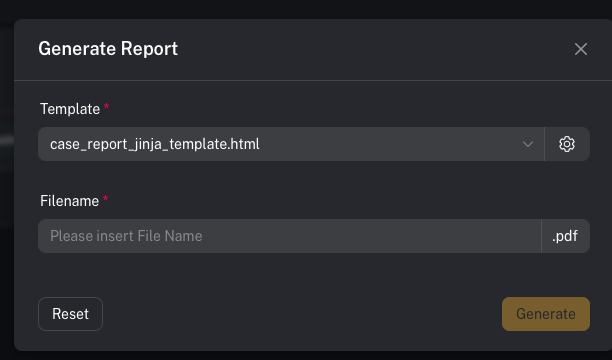
Step 5 — Generate a case report (Jinja templates)
Cases can generate reports using templates.UI callout: Generate Report
- Open the case details
- In Overview, click Generate Report
- Choose a Template
- Enter a Filename
- Click Generate
- Templates are customizable and support Jinja templating.
- Different template types may generate different outputs (for example: a
.docxtemplate vs an.htmltemplate used to generate a PDF).