Customer Provisioning (Tenancy Setup)
Customer provisioning is the admin/engineer workflow for onboarding a new customer/tenant into CoPilot and the surrounding OSS SIEM stack. Provisioning is designed to create the plumbing that makes customer data land in the right place and makes dashboards usable immediately.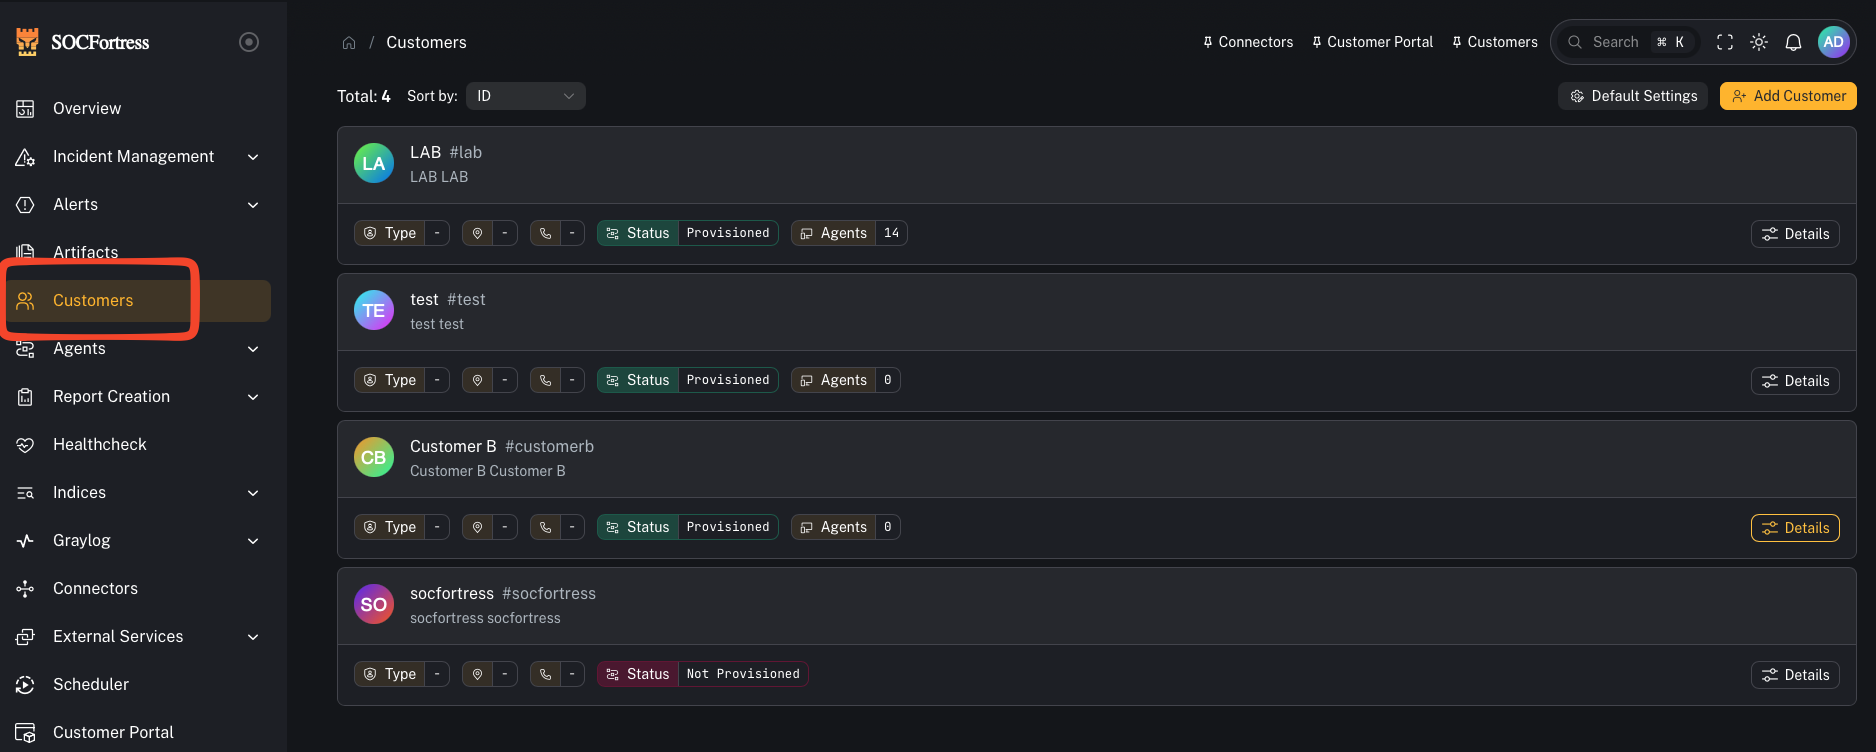
What provisioning sets up
When you provision a customer, CoPilot will typically create:Also: customer-scoped integrations and network connectors
This same customer context is also where you configure:- 3rd-party integrations (for example: Office 365, Mimecast, CrowdStrike, etc.)
- Network connectors (firewalls and network devices)
Also: Shuffle (SOAR) for tickets + notifications
CoPilot can plug into Shuffle (SOAR) so SIEM stack alerts can be forwarded to third‑party tools such as:- Jira
- email notifications
- ConnectWise
- other ticketing systems / custom webhooks
- create a ticket
- enrich it with alert context
- route it to the right destination per customer
Per-customer workflows (recommended)
In many environments, different customers want different routing (different Jira projects, different email recipients, different ticketing systems). CoPilot + Shuffle supports this pattern by letting you map alerts to different Shuffle workflow IDs per customer. Practical example:- Customer A → Jira Project
SOC - Customer B → ConnectWise tickets
- Customer C → email-only notifications
Tip: The alert context sent to Shuffle is driven by what you map in Incident Sources (title/asset/context fields).Video context:
1) Dedicated customer index + routing (Graylog → Wazuh Indexer)
-
A customer-specific index (for example:
wazuh-<customer_code>) with your chosen:- shards
- replicas
- retention (days of hot data)
- A Graylog stream for the customer’s events
-
Stream rules that match on the customer identifier (commonly
agent.labels.customer == <customer_code>) - Stream → pipeline assignment so the customer’s data gets the expected normalization used by dashboards
Why this matters: If events don’t route into the correct per-customer index, everything downstream breaks (alerts, dashboards, searching, reporting).
2) Wazuh agent groups (per OS)
Provisioning creates Wazuh groups that encode the customer identity, typically one per OS:Windows-<customer_code>Linux-<customer_code>macOS-<customer_code>
3) Grafana organization + dashboards
Provisioning creates (or configures) in Grafana:- A Grafana organization for the customer (recommended: same as the customer name/code)
- An OpenSearch data source pointing at the customer’s index pattern (wildcarded for Graylog daily rotation)
- A dashboards folder (for example: EDR) with default Wazuh dashboards
This is the big win: the customer gets dashboards immediately without hand-building them.
Prerequisites
Before provisioning, verify connectivity in Connectors:- Graylog
- Wazuh Manager
- Grafana
- (Wazuh Indexer / OpenSearch)
The two key fields: Customer Name vs Customer Code
Customer Code (most important)
The customer code is the value used across the stack to correlate data to the correct tenant. Common approach:- use a short, stable, lowercase code (examples:
acme,contoso,socfortress-lab) - avoid spaces (use
-)
Once you provision with a customer code, treat it as immutable. Changing it later usually means re-provisioning or migrating data.
Customer Name
The customer name is a human-friendly label (UI display, Grafana org naming convention, etc.).Step-by-step: Provision a customer
High-level flow (matches the provisioning wizard shown in the video below):- Go to Customers and create the customer
- (If required) set defaults like the Grafana URL
- Open the customer details and choose Provision
- Configure Grafana org name
- Configure index settings (name, shards, replicas, retention)
- Select which dashboards to provision
- Submit and wait for provisioning to complete
- Graylog: index exists, stream exists, stream rules look correct, stream is assigned to the Wazuh processing pipeline
- Wazuh Manager: customer OS groups exist
- Grafana: org exists, OpenSearch data source exists, dashboards folder exists
Validation checklist (quick)
- New customer appears in Customers
- Graylog customer index exists and matches naming convention
- Graylog stream exists for the customer and stream rules match the customer label
- Customer stream is assigned to the Wazuh pipeline (normalization)
- Wazuh groups exist (Windows/Linux/macOS) and include the customer label
- Grafana org exists
- Grafana OpenSearch data source index pattern uses wildcard (to include daily rotated indices)
- Default dashboards exist under the customer org
Video walkthrough (source)
This guide is based on the customer provisioning walkthrough:- “Wazuh Dashboards in Grafana & Customer Provisioning in CoPilot!”